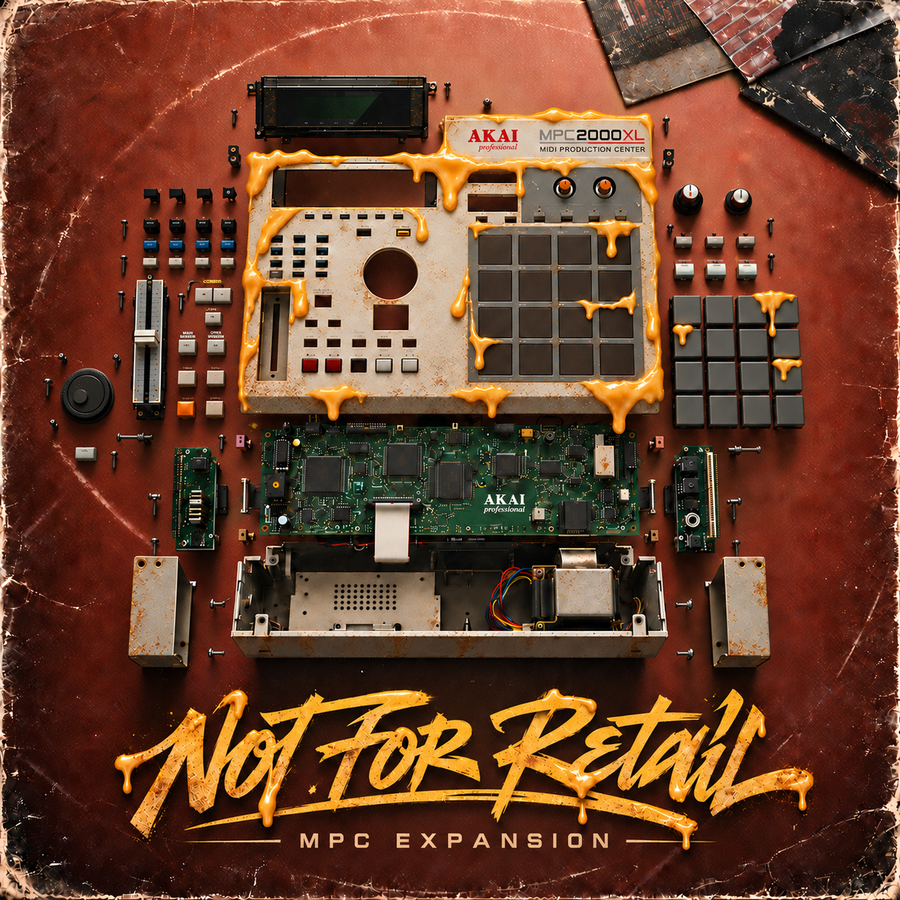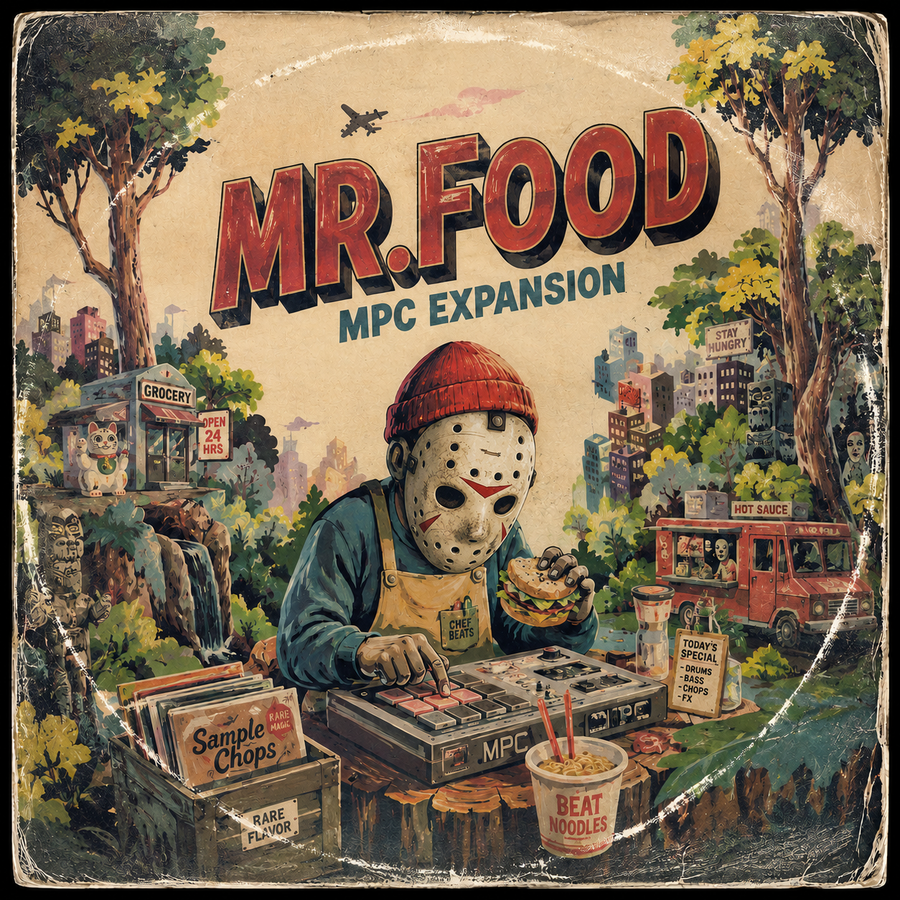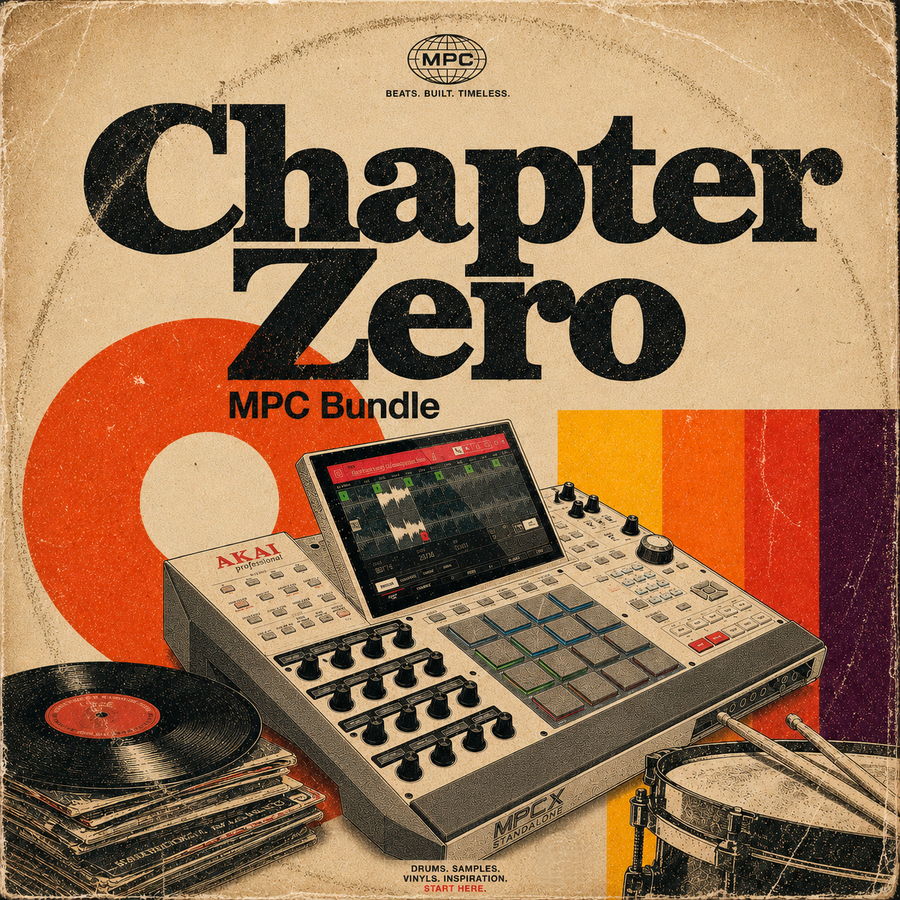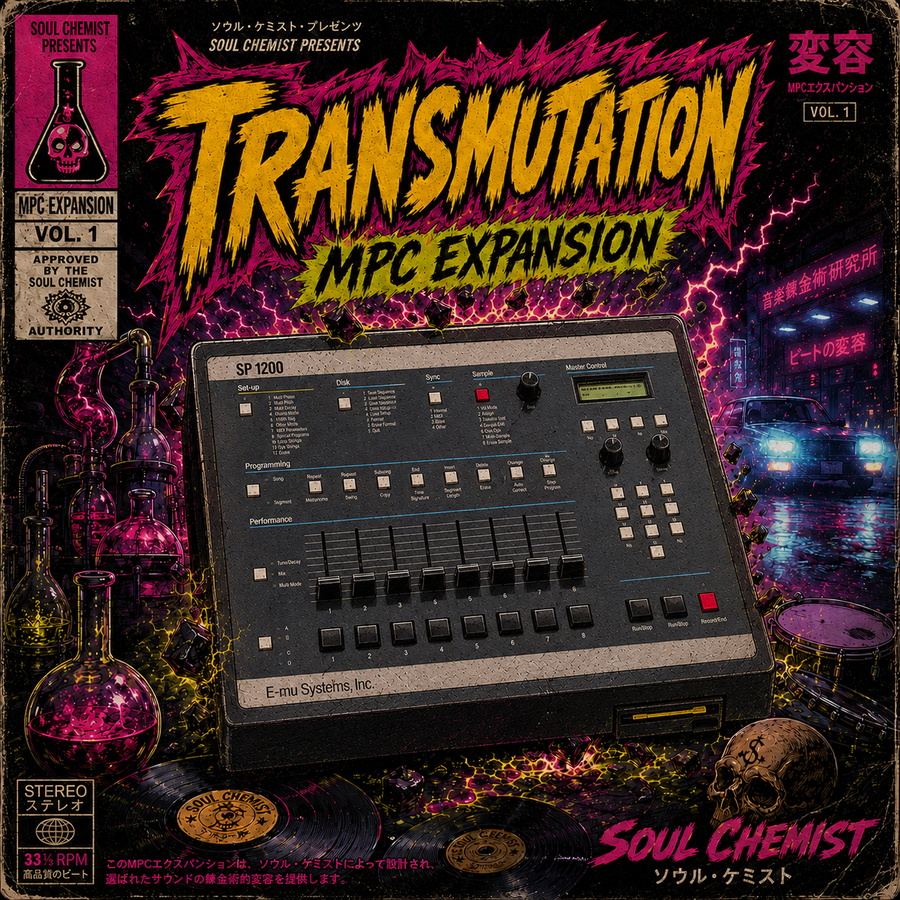

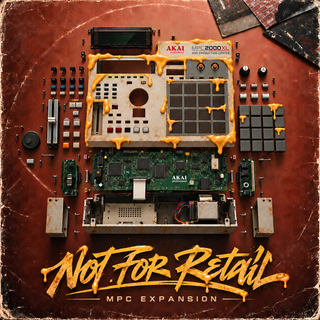

Kits arrive ready to play
Sounds are assigned to pads and saved as MPC programs. Load a program from the Expansion Browser and the complete kit opens with its mapping already in place.
Installation & Compatibility
Learn what an MPC Expansion is, choose the correct installation method and confirm exactly where your sounds will work before you start.
What an expansion does
An MPC Expansion places complete sound programs inside the MPC workflow. Instead of searching for individual files and mapping every sound yourself, you load a prepared kit and begin creating immediately.
Sounds are assigned to pads and saved as MPC programs. Load a program from the Expansion Browser and the complete kit opens with its mapping already in place.
Program level choices such as pad assignment, tuning, gain, envelopes, filters, choke groups and effects can load with the kit when they are part of that release.
The original WAV files stay organized inside the content folder. You can browse them individually, build new programs or use them in another DAW whenever you need more control.
Some products include extra sequences, MIDI patterns, drum breaks, previews or bonus folders. The product page always shows the exact number of kits and every additional inclusion.
Know your files
Most current Soul Chemist expansions include the formats below. Always check the product description because older or specialist releases may use a different delivery structure.
Import this file into MPC Beats, MPC 2 or MPC 3. It installs the expansion artwork, programs and content into the MPC Expansion Browser on your computer.
Do not drag the compressed ZIP file into MPC. Extract the download first.Copy the complete expansion folder into an Expansions folder at the root of your SD card, USB drive or compatible internal user drive.
Copy the complete pack folder. Do not separate or rename its internal files.Use the raw sounds in Ableton Live, FL Studio, Logic Pro, Cubase, Pro Tools, Maschine or any sampler that can load standard WAV audio.
The MPC artwork and pre mapped program settings only appear inside the MPC ecosystem.Installation guide
You only need one method. Install the XPN on your computer, copy the ready made Standalone folder to a drive, or install on desktop first and export the expansion to your MPC hardware.
Use this method when you create with MPC Software, an MPC controller or the MPC plug in inside another DAW.
Use this method when the download includes a ready made Standalone folder and you want the fastest route to your MPC hardware.
Use this method after importing the .xpn on your computer when you prefer MPC Software to build the correct standalone folder automatically.
MPC 3 uses Expansion Manager instead of the export menu found in MPC 2.
Compatibility
The table below applies to sample based Soul Chemist MPC Expansions. Instrument plug ins and specialist third party products can have different system requirements.
| Device or software | Expansion Browser | Standalone use | Best installation method |
|---|---|---|---|
| MPC Live, Live II and Live III | Full support | Full support | Standalone folder or export from MPC Software |
| MPC One and One+ | Full support | Full support | SD card is the simplest transfer method |
| MPC X, X SE and MPC XL | Full support | Full support | Standalone folder or export to user storage |
| MPC Key 37 and Key 61 | Full support | Full support | Standalone folder or export from MPC Software |
| Akai Force | Supported | Supported | Export or copy to an Expansions folder |
| MPC Beats, MPC 2 and MPC 3 | Full support | Computer based | Import the extracted .xpn file |
| MPC Studio, Renaissance and Touch | Full support | Software only | Install the .xpn in MPC Software |
| Ableton, FL Studio, Logic, Cubase and other DAWs | Via MPC plug in | Not applicable | Use the MPC plug in or load the WAV files directly |
| MPC 500, 1000, 2000XL, 2500, 4000 and 5000 | No XPN support | Manual WAV use | Import compatible WAV files and build programs manually |
Recommended workflow
A clean storage structure prevents missing samples and makes every expansion easier to find.
Store third party expansions on an SD card, USB drive or compatible user SSD. Avoid changing or filling the protected factory content drive.
Do not rename internal content folders, move individual samples or separate programs from their WAV files after installation.
Standalone mode reads content from the MPC drive. Controller mode reads content installed on the computer. Install the expansion in both places when you use both workflows.
Troubleshooting
Check these points before downloading the pack again or rebuilding your storage.
.xpn file into an open MPC window, not the ZIP file or the folder that contains it. Update MPC Software if the import window never appears.Drive / Expansions / Pack Folder. The complete pack folder must sit inside the Expansions folder at the root of the drive. Safely eject the drive, reconnect it and reopen the Expansion Browser.Frequently asked questions
The product page remains the final reference for the exact files and bonus content included in a specific expansion.
Load less. Create more.
Explore premium drum expansions built for standalone hardware, MPC Software and fast real world beatmaking.